
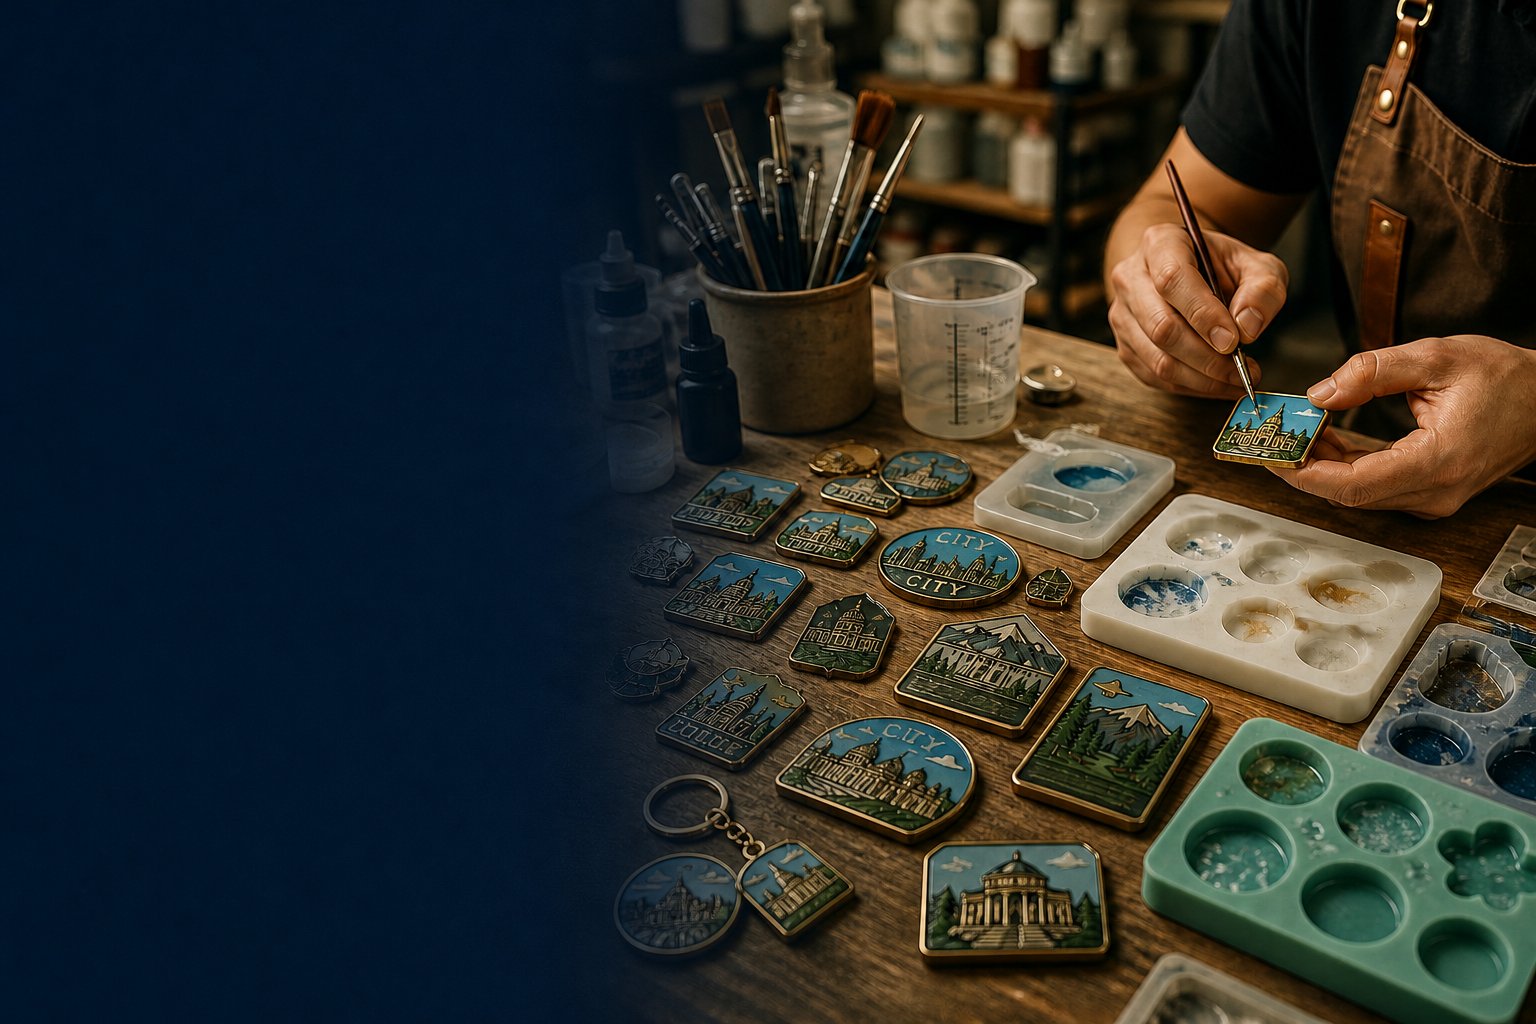
Custom fridge magnets look deceptively simple. You see a finished product on a gift shop shelf—a 3D Eiffel Tower, a printed London bus, a soft PVC character in vivid colour—and it's easy to assume the production process is equally straightforward. It isn't. Understanding it makes a real difference to the decisions you make when briefing a supplier, and to the quality of what ends up on your shelf.
Custom fridge magnets are made through one of four main processes—resin pouring and hand-painting for 3D landmark shapes, injection moulding for PVC designs, die-casting for metal relief magnets, and printing with laminate or epoxy dome for flat designs. The magnetic layer is bonded to the back as a final step in all cases. Each method has different tooling costs, lead times and MOQs.
This guide covers the full picture: material selection, production methods, the path from artwork to delivery, and what to verify before placing an order. Whether you're a gift shop buyer, a museum merchandise manager or a brand team developing promotional gifts, the decisions below determine what you get.
Step 1: Choose the Right Material for Your Design
Material selection is the first decision, and it has knock-on effects on everything else: tooling cost, unit price, lead time, display weight and how the finished product reads at retail. The four main options for custom souvenir fridge magnets are:
| Material | Best for | Tooling? | Unit price* | MOQ |
|---|---|---|---|---|
| Polyresin | 3D landmark shapes, detailed sculptures | Yes (mould) | $1.20–$3.50 | 300–500 pcs |
| Soft PVC | Characters, vivid colour, flexible shapes | Yes (injection mould) | $0.80–$2.50 | 200–500 pcs |
| Die-cast metal | Relief maps, antique finish, premium feel | Yes (die) | $1.50–$4.00 | 300–500 pcs |
| Printed flat (metal/acrylic) | Photo magnets, destination prints, promotional | No (or minimal) | $0.50–$1.80 | 100–300 pcs |
*Indicative FOB ranges at stated MOQ. Actual pricing depends on design complexity, finish and packaging.
The choice isn't purely about cost. A flat printed magnet is cheaper and faster to produce, but it won't deliver the tactile, three-dimensional quality that makes a resin landmark magnet feel worth $8–$12 on a shelf. The decision should start with the retail price point and the story the product needs to tell—then work backwards to the material that delivers both.
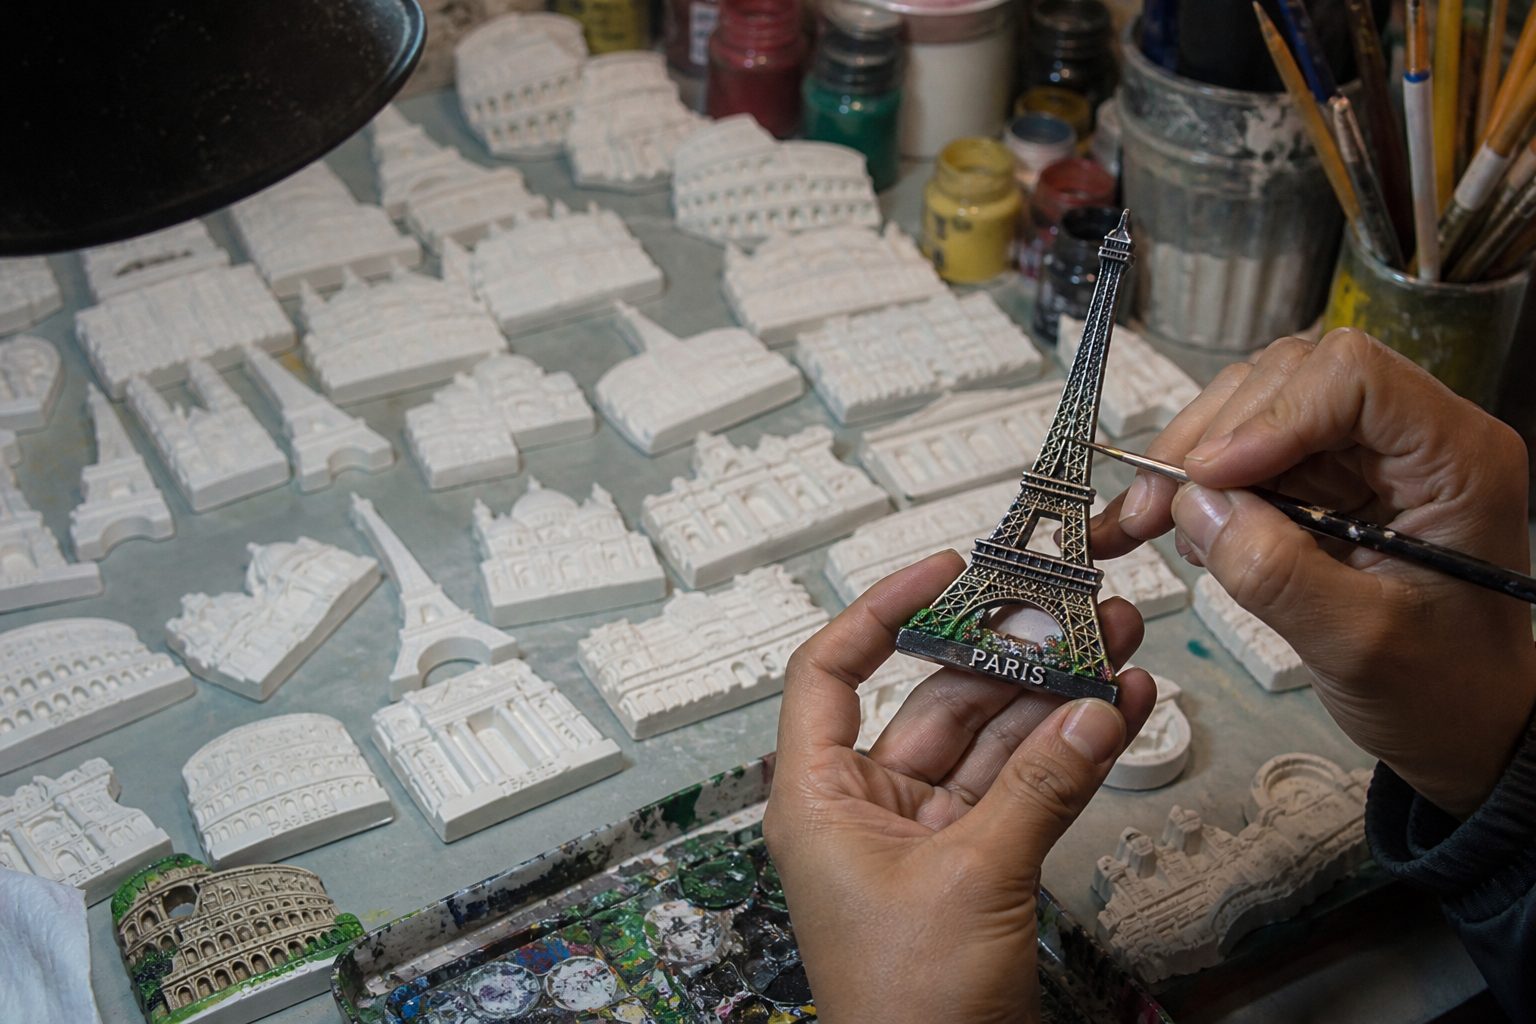
Hand-painting 3D resin magnets is the most labour-intensive step in production. The number of colour passes directly affects unit price—more colours and finer detail cost more per piece.
How Each Material Is Made
Resin (Polyresin) Magnets
Resin magnets are the most involved to produce and typically the most visually distinctive format in destination retail. The process starts with a master sculpt—either hand-carved or CAD-modelled—which is used to create a production mould, usually from silicone or polyurethane. Mould making is the primary tooling cost and the main contributor to first-order lead time.
Liquid polyresin is then poured into the mould and cured—typically 4–24 hours per batch. Once demoulded, each piece is hand-painted, which is why design complexity directly affects both unit price and batch-to-batch consistency. A multi-colour landmark with fine architectural detail requires more painting passes than a simple shape.
Once painted and sealed, a neodymium or ferrite disc magnet is bonded to the back with industrial adhesive. The backing strength is determined at this stage—worth specifying in your product brief if your display surface is light-gauge steel or painted.
Soft PVC Magnets
PVC magnets are injection-moulded rather than poured. Pigmented liquid PVC is injected into a steel mould under pressure, producing a flexible, colourful piece that holds fine character or cartoon detail well. The main advantages are vivid colour saturation and the ability to produce layered 2D or raised 3D effects without hand-painting.
The process is more mechanical than resin, which means consistency between units is generally higher. The main quality variable is colour boundary sharpness—very fine lines can bleed during injection if mould tolerances aren't tight. A physical sample before bulk production is non-negotiable with PVC for this reason.
Die-Cast Metal Magnets
Metal fridge magnets—typically zinc alloy (zamak)—are produced by injecting molten metal into a steel die under high pressure. The cast piece is then cleaned, and surface treatments are applied: electroplating (antique brass, silver, gold), paint fill for recessed areas, or epoxy colouring for detailed designs.
The result is heavier and more premium-feeling than resin or PVC. Metal suits designs where the material itself communicates value: relief maps, detailed architectural elevations, embossed landmark profiles. Tooling is more expensive than resin moulds, but production consistency is high once the die is proven.
Flat Printed Magnets
The simplest and lowest-cost production method. A design is printed—by lithography for large runs, or digitally for shorter ones—onto metal sheet, acrylic, or magnetic-backed vinyl. The print is protected with a clear laminate or an epoxy dome coating. Flat printed magnets suit photo designs, destination text, promotional runs and any product where artwork needs to change frequently.
The Artwork Brief: What Controls Everything Downstream
Regardless of material, the artwork brief is the document that controls quality, lead time and cost. A clear brief prevents the most common sources of sampling delay.
A complete brief includes: the reference image or sketch, overall dimensions in mm (most souvenir magnets are 50–90 mm at the longest axis), Pantone colour references for specific brand or destination colours (photos alone are insufficient), finish direction (antique/polished/matte/glossy/hand-painted), attachment specification (ferrite disc for standard refrigerators, neodymium for thicker surfaces), and packaging requirement (polybag, backing card with dimensions, display box).
According to a 2025 manufacturing guide from Great Magtech, the most common reason for sampling rework is insufficient colour and finish specification in the initial brief. Buyers who provide Pantone references and a clear finish direction reduce their sample approval cycle by an average of one round—typically saving 2–3 weeks on the production timeline.
DIY Custom Fridge Magnets: What's Realistic
The DIY question is worth addressing separately, because home production follows completely different logic from factory production. The most practical approaches at home are print-and-cut with magnetic sheet (print on photo paper or vinyl, laminate, attach a self-adhesive magnetic backing), resin casting with purchased silicone moulds, and online photo magnet services like Snapfish or Vistaprint.
For personal use or small-batch gifts, DIY works. For retail quantities or a consistent product range, laser-engraved acrylic approaches and factory production both deliver better consistency, lower unit cost at volume and proper retail packaging. A backing card that names the destination, shows your shop's identity and carries a barcode cannot be replicated cost-effectively at home once you need more than a few dozen units.
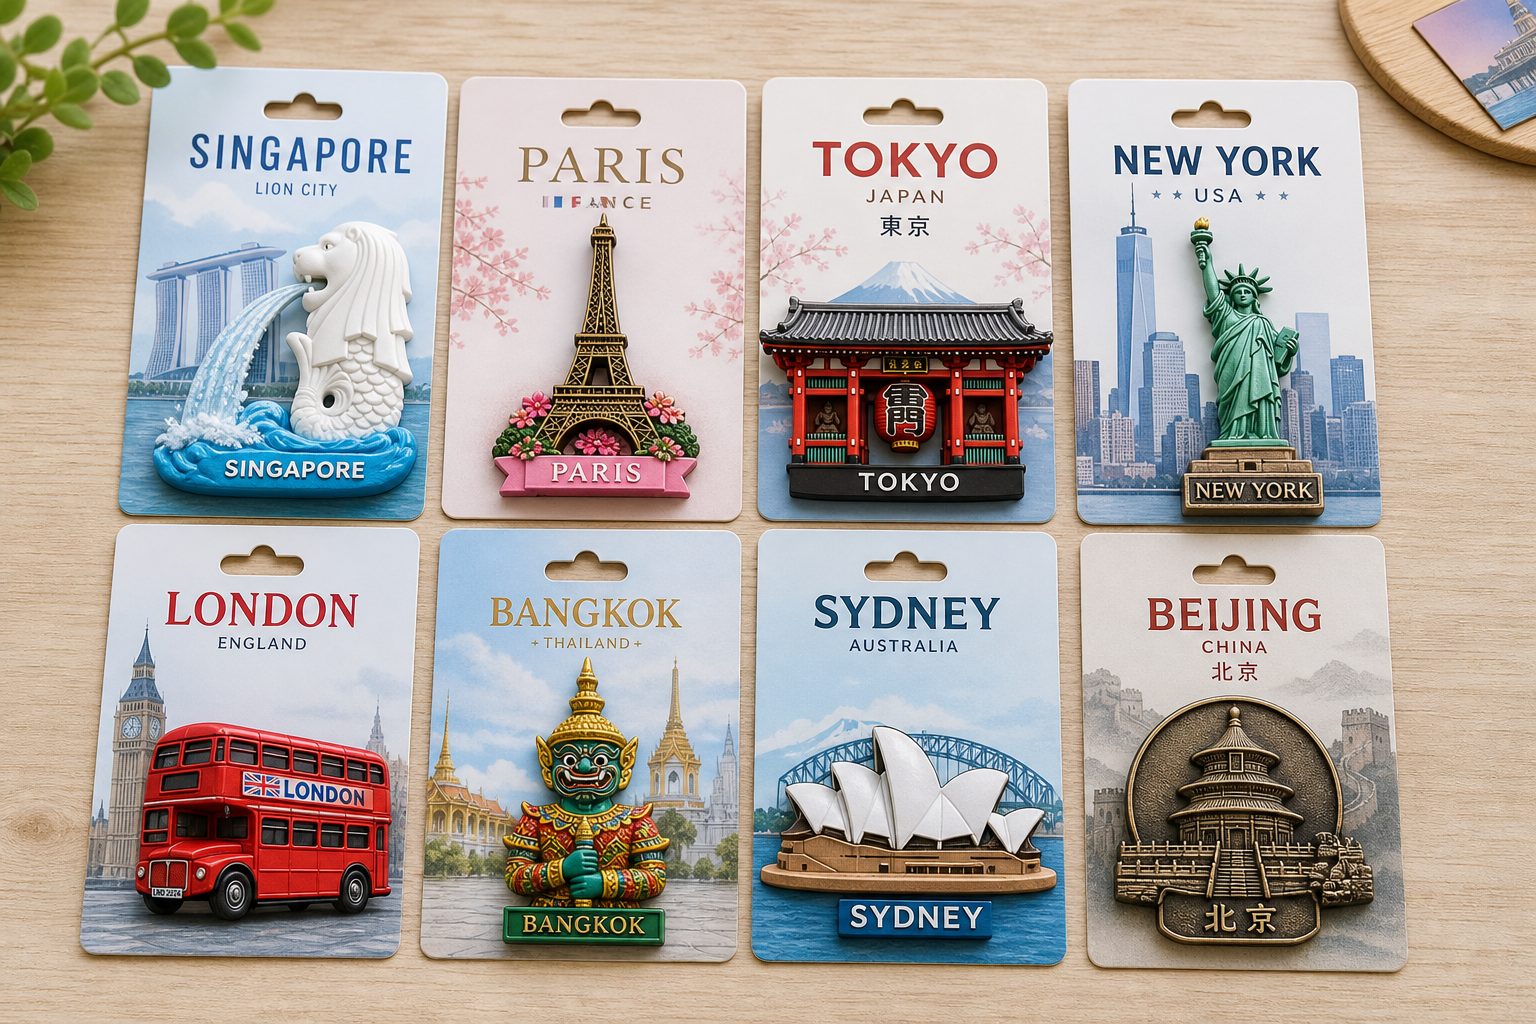
Retail-ready custom fridge magnets with destination backing cards. The card is as much a part of the product as the magnet—it carries the destination story, barcode and display information that makes the product sellable.
Packaging: The Decision That Affects Sell-Through
Packaging options for custom fridge magnets run from polybag only (lowest cost, good for wholesale assortments) to backing card (the standard souvenir format—printed with destination name, hang hole, barcode), header card with OPP bag, and gift box for premium or commemorative formats.
The backing card is worth particular attention. A card that names the landmark, references the destination and carries your shop's identity turns a product into something specific and sellable. Design the card at the same time as the magnet—not as an afterthought. The card size, hang hole position, barcode area and print spec all need to be confirmed before production, because changing them after sampling adds cost and delay.
Lead Times: What to Expect on Your First Order
| Stage | Typical duration | What speeds it up |
|---|---|---|
| Artwork finalisation | 3–10 days | Pantone refs and clear brief from day one |
| Tooling (mould/die) | 15–25 days | Reusing existing tooling skips this entirely |
| Sample production | 7–14 days | Pre-production visual approval first |
| Sample approval | 3–14 days | One decision-maker; consolidated feedback |
| Bulk production | 20–35 days | Quantity and packaging confirmed at brief stage |
| QC and shipping | 7–21 days | Sea vs. air; destination port |
Total first-order lead time for a custom resin or PVC magnet: 8–16 weeks from approved brief to delivery. Repeat orders using existing tooling typically complete in 5–8 weeks. Build these timelines into any seasonal buying plan before you begin—the most expensive mistake in souvenir buying is starting a custom project too late for the season it's needed for.
To understand how jaxmory approaches the production workflow, see our project process page. For the full range of custom magnet formats available, see the fridge magnet product range.
FOUNDER PERSPECTIVE
Build souvenirs people choose to keep.
Hi, I am Bora, founder of jaxmory. I started this company to help destination retailers turn a place, collection or brand story into products that feel specific, useful and ready for the shelf.
When you share a range idea, I look at the memory behind it first, then the product format, material and commercial path. That keeps the conversation grounded in what visitors will understand and what buyers can confidently reorder.

DIRECT ENQUIRY